Conditional Thank-you Pages allow you to present unique Thank-you pages to respondents based on different logics. This provides a more customized survey experience for respondents.
The advantage of using the Conditional Thank-you Page is that you can decide to display different thank-you pages based on different conditions, greatly enhancing the relevance between the respondents and the respective thank-you pages. Common scenarios include:
To use this feature, you need to use the Calculation Mode.First, after creating your questions, go to the “Logic” page. There, you can set up calculation logic and variables for each answer option!
1. Set variables
Variable is the calculation result of the entire survey. You need to set Variable Name and Default Value. For more detailed instructions on setting up this feature, please refer to the Calculation Mode.
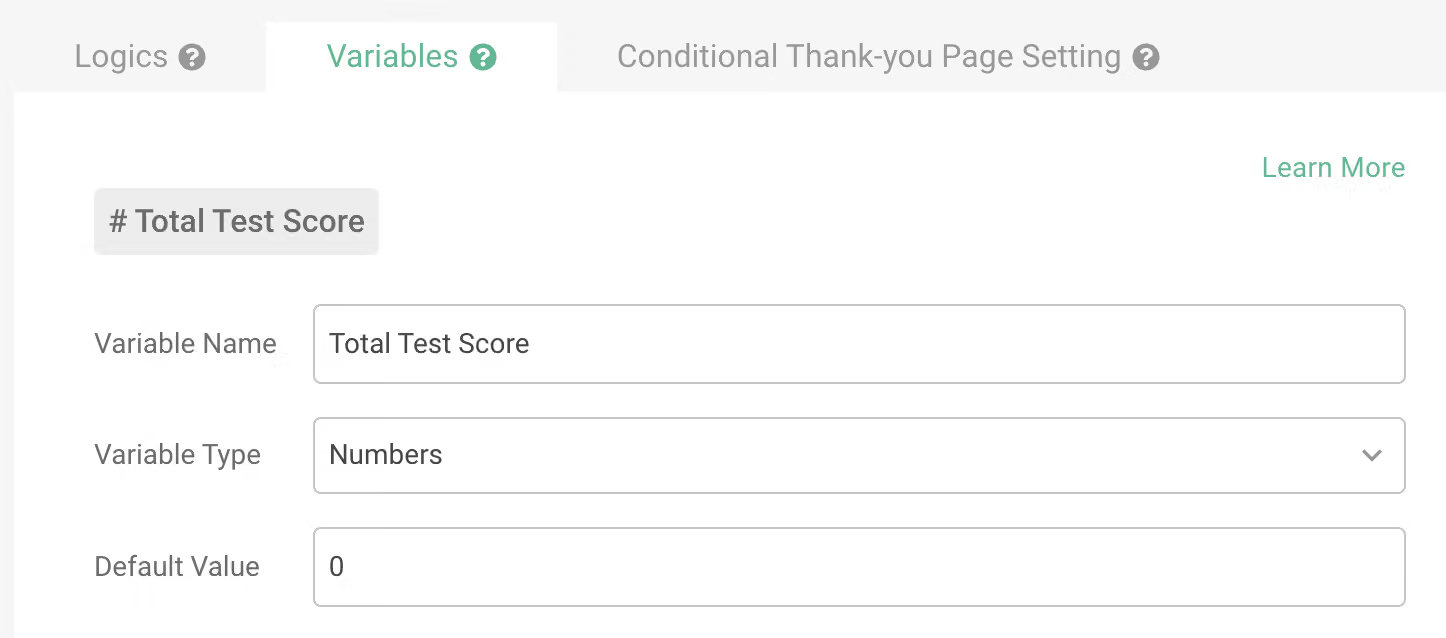
2. Set logics
After setting up variables, you can set up the logic. Logic settings allow you to judge variables or questions as conditions and then calculate based on the variables. Before setting up logic, make sure you have completed the creation of the relevant questions. For a detailed tutorial on setting up logic, please refer to the Calculation Mode.
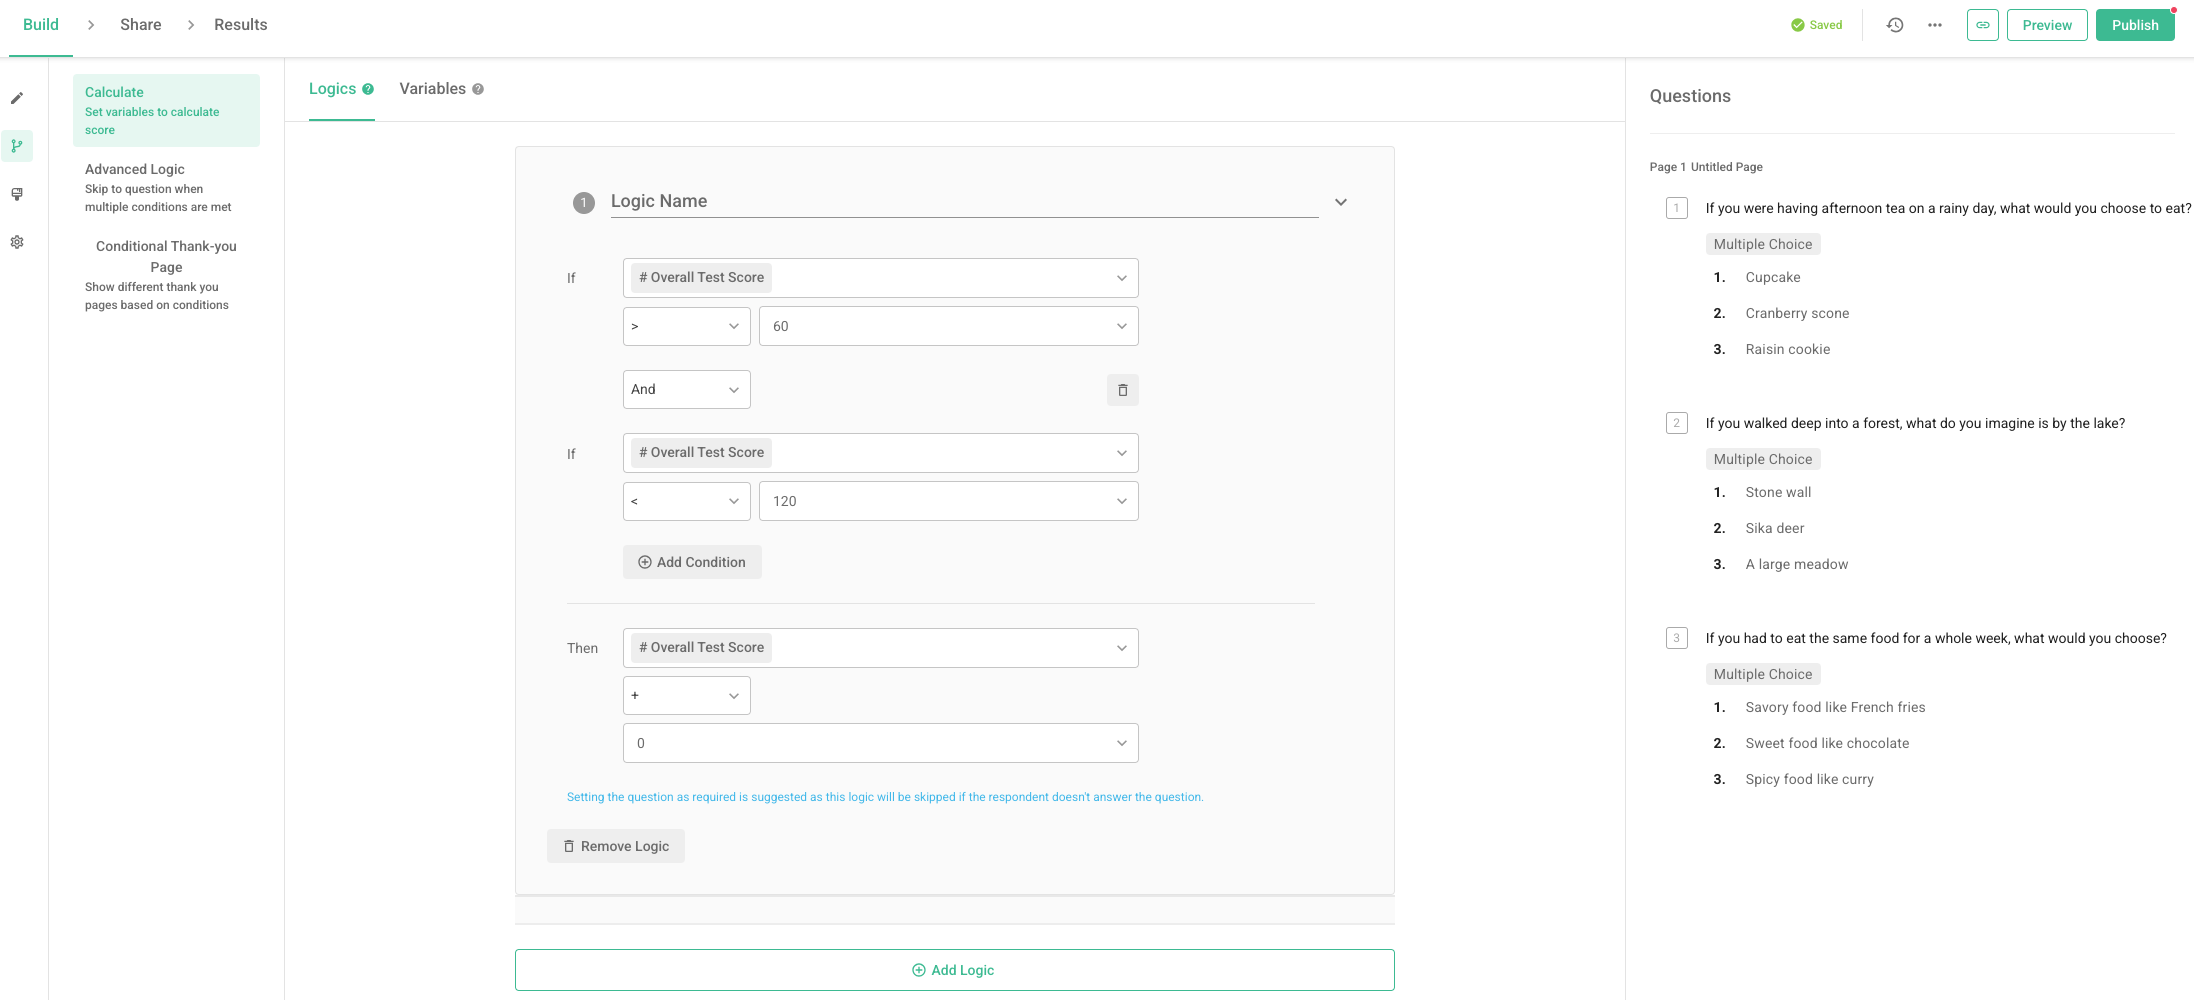
3. Set Conditional Thank-you Page
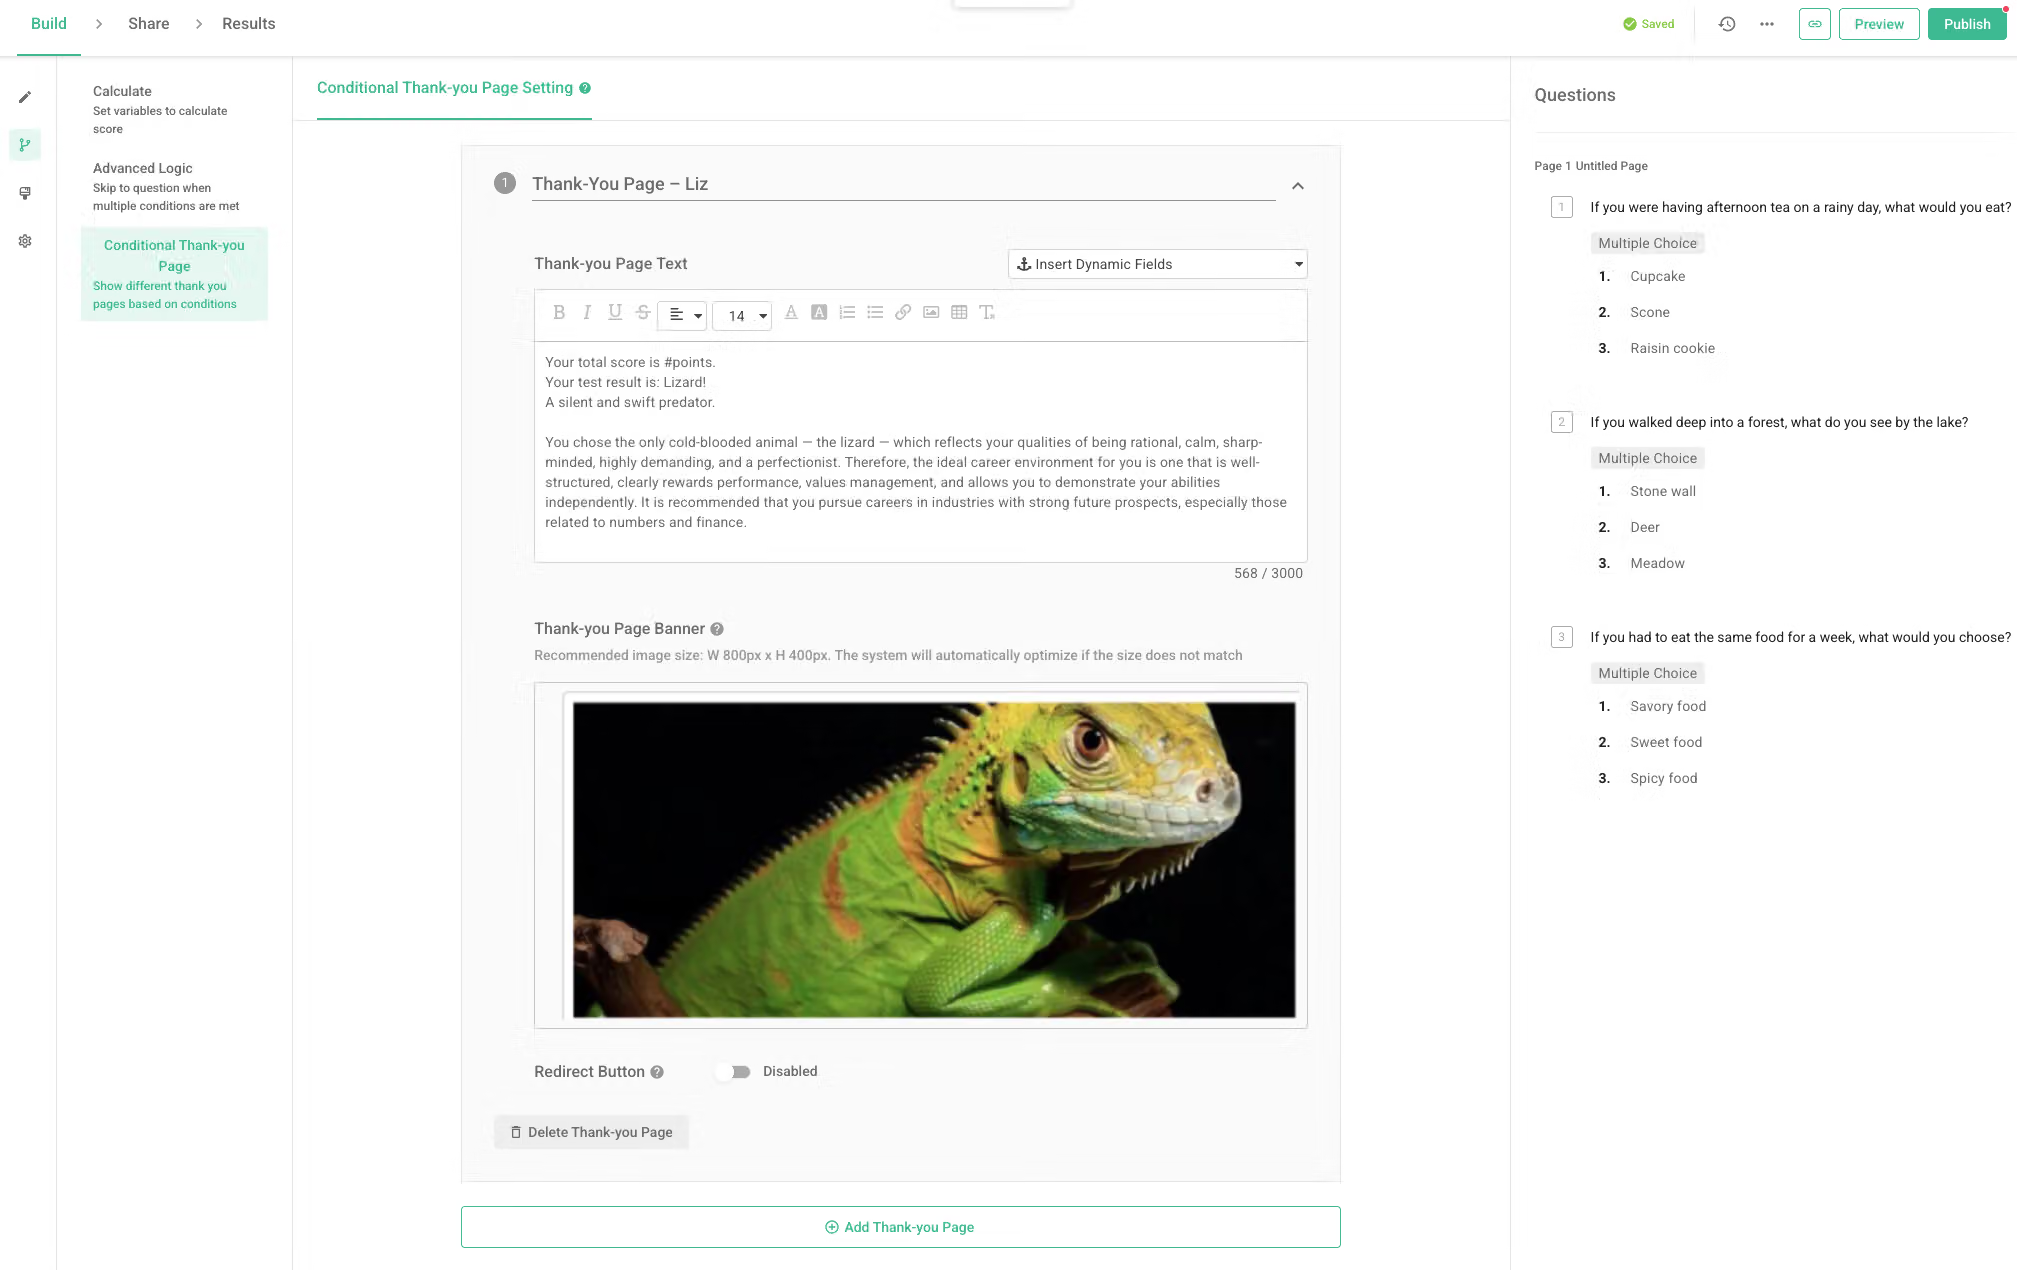
Click on the third tab "Conditional Thank-you Page Setting" to customize your Thank-you page.
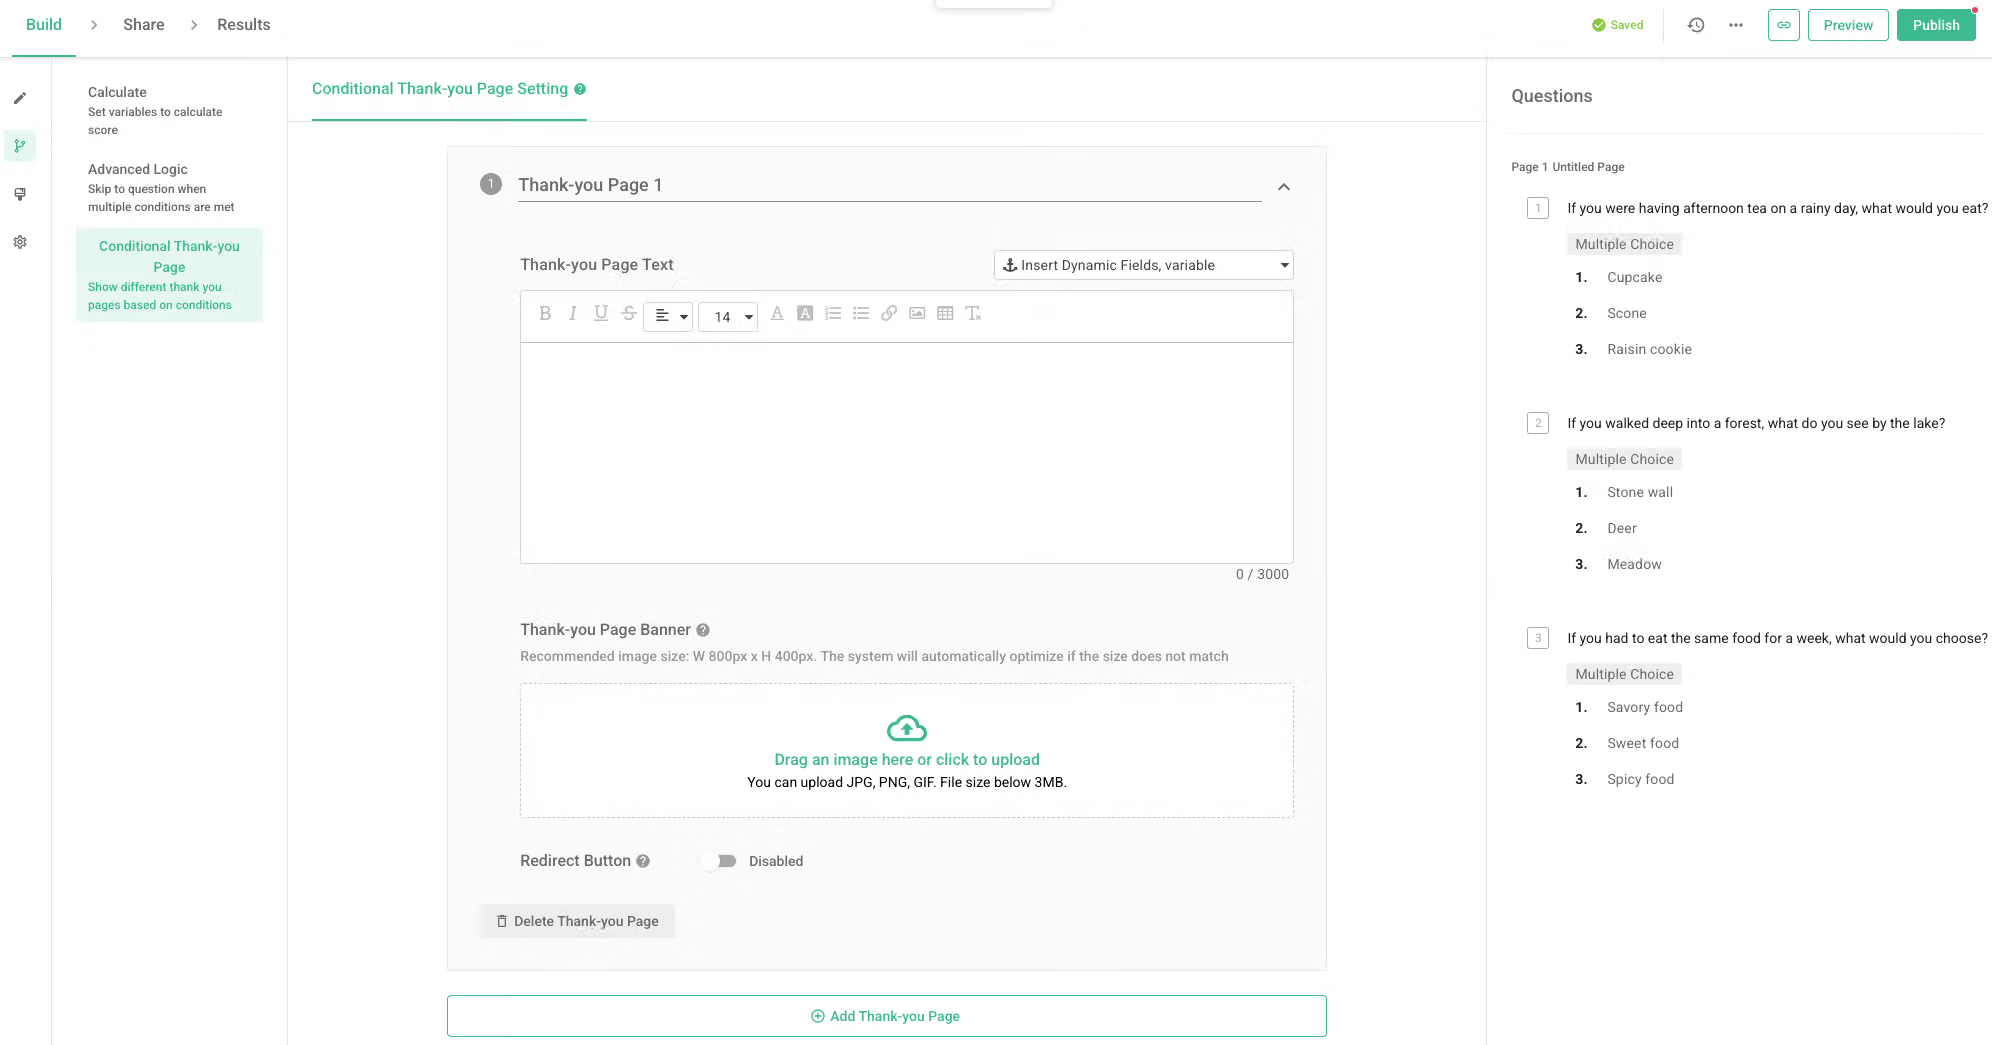
You can add text and image, insert variables, edit redirect button links, etc. You can also add different Thank-you page banners for different Thank-you pages.
Note: Please note that you can only set up a maximum of 10 Conditional Thank-you Pages.
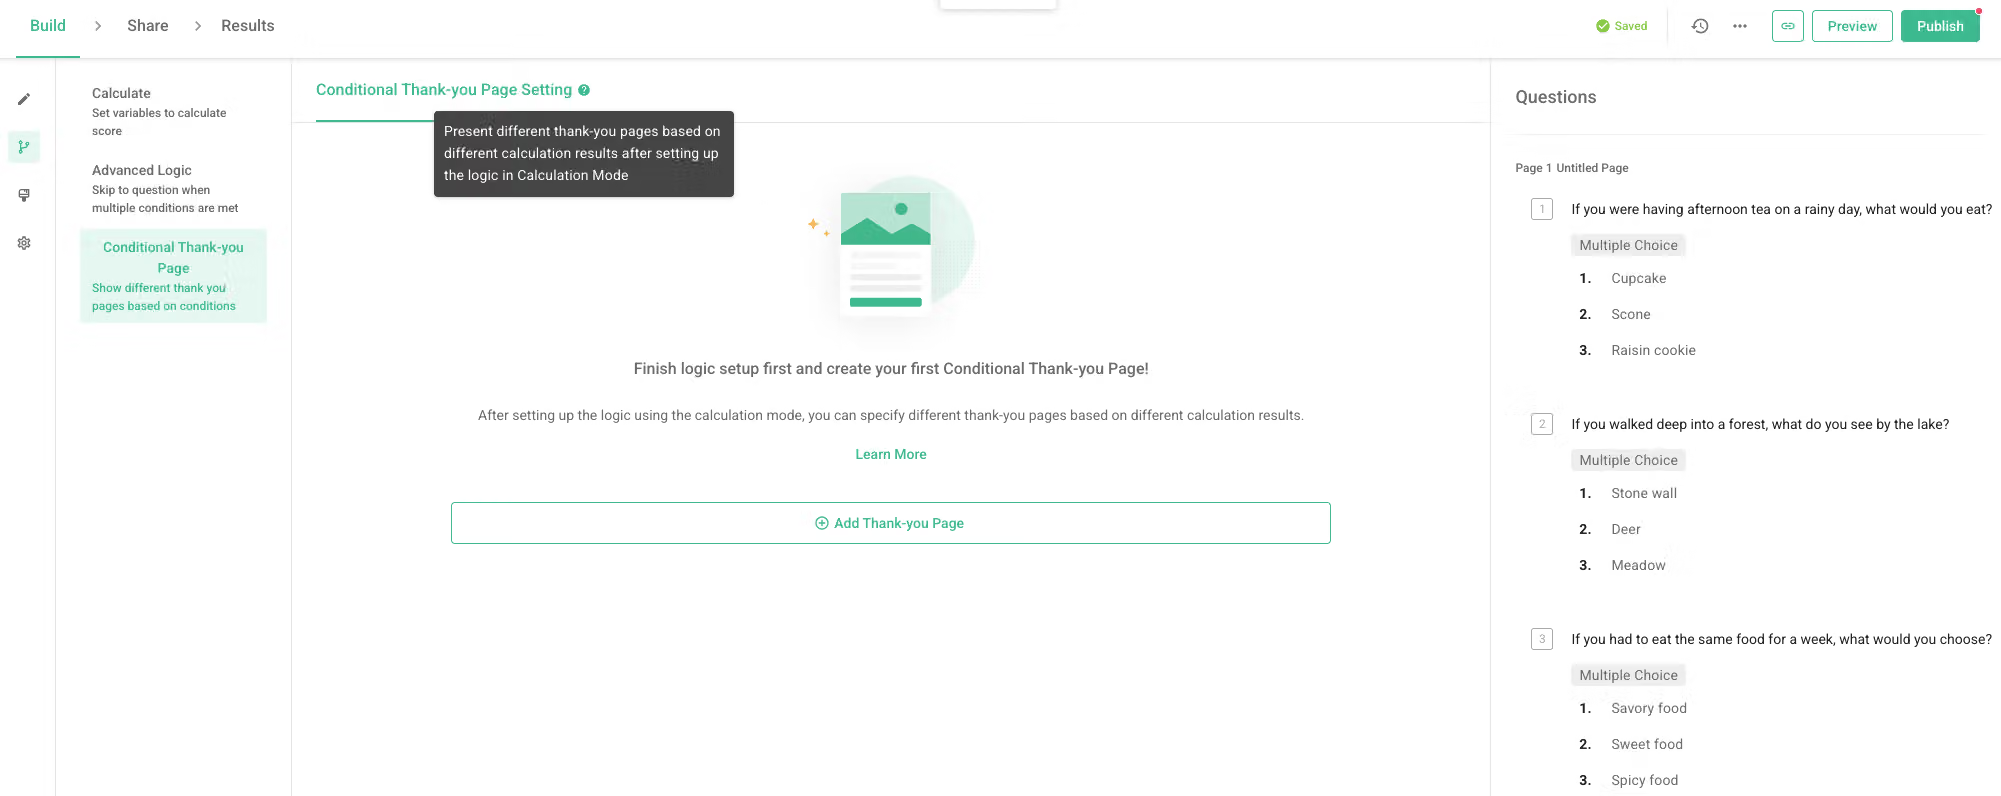
We strongly recommend that you name each Thank-you page for easier recognition during later settings.
Next, go back to the first tab "Logic" and assign a corresponding thank-you page for each logic/condition. Taking the example in the image below, when the test result is greater than 60 and less than 120, and the answer is "Lizard", you can choose the thank-you page to be shown as "Thank-you Page - Lizard" in the Then section.
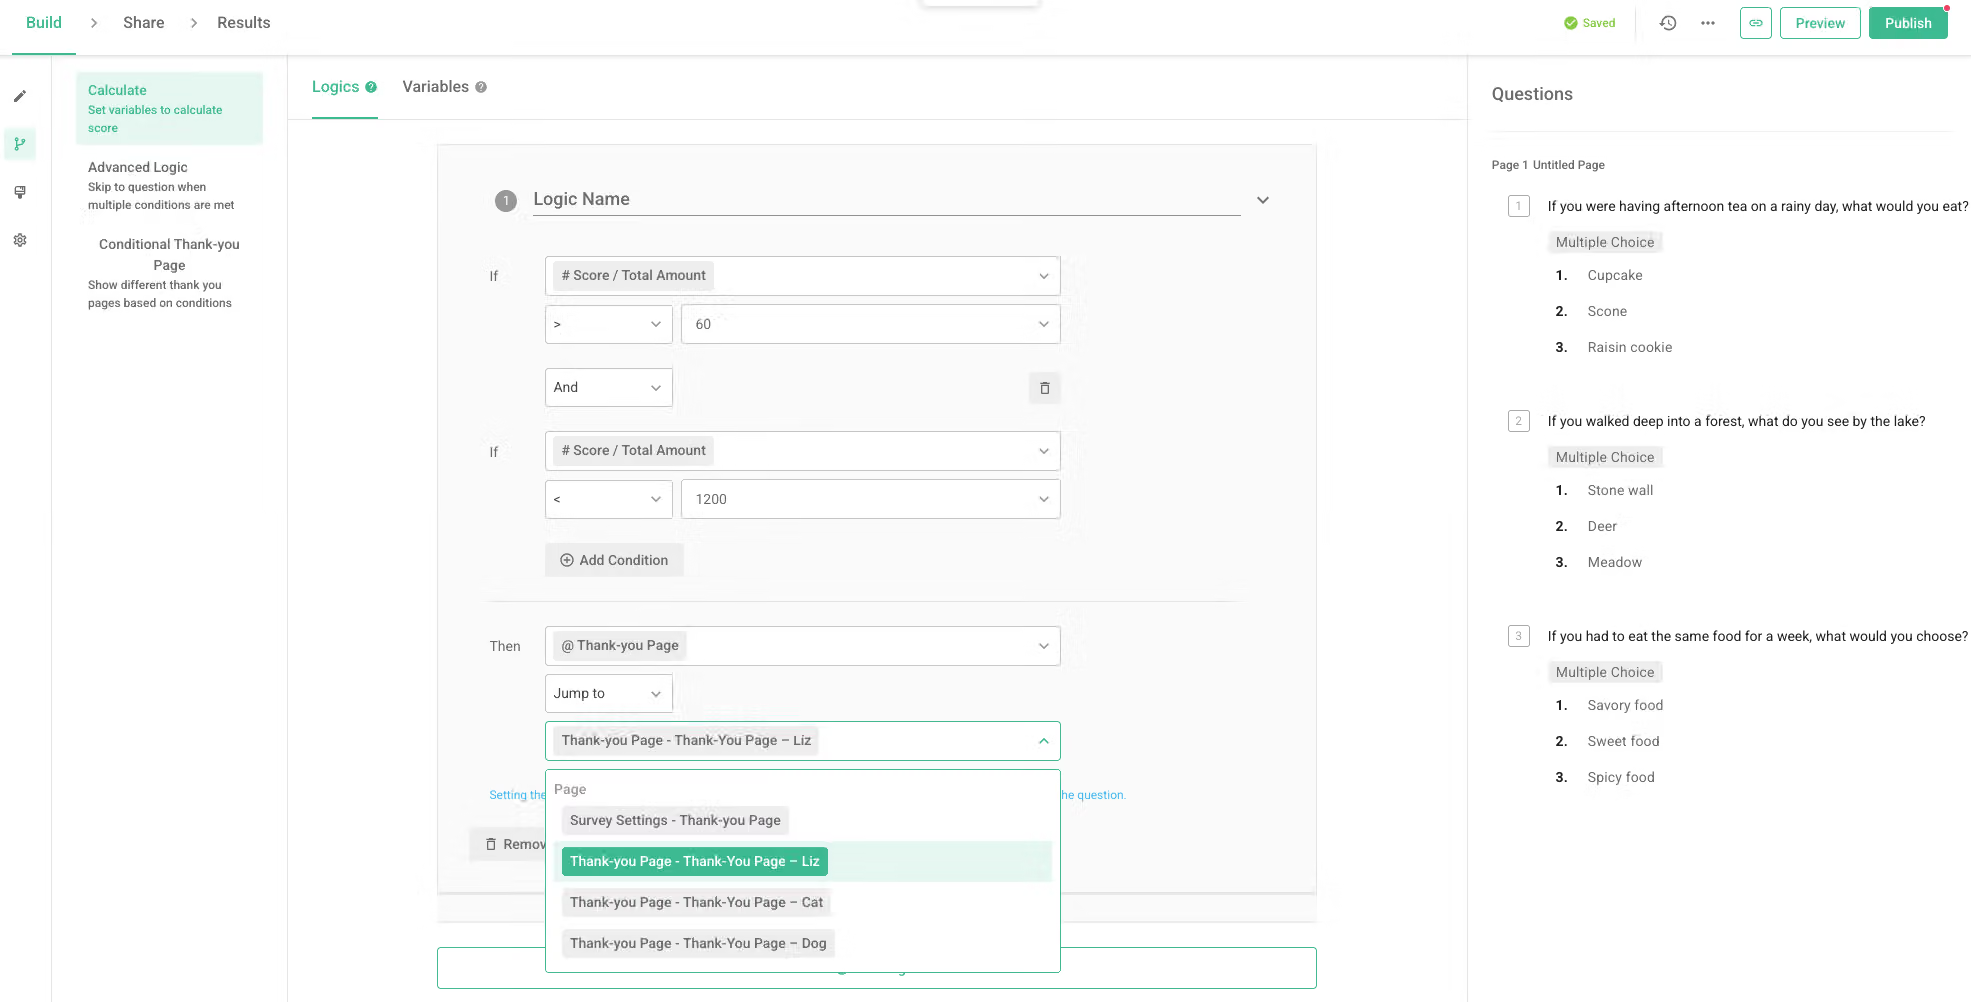
All you need is matching each logic or condition with the appropriate thank-you page, done!
Note: If you fail to set up a Conditional Thank-you Page for each logic, SurveyCake will show the default Thank-you Page where the Conditional Thank-you Page is not set.
FAQ:
Conditional Thank-you Page is a feature where users can show different Thank-you Pages based on respondents' choices. This feature can provide a more personalized and customized Thank-you Page experience, allowing respondents to obtain more accurate feedback and advice. This feature needs to be used in conjunction with the Calculation Mode.
On the other hand, Custom Thank-you Page is a relatively simple feature where users can specify a specific URL, such as an official website, fan page, event site, etc. When respondents complete the survey and submit it, they will be directed to the specified website. Custom Thank-you Page is more suitable for users who want to guide survey traffic to their website. This feature does not need to be used in conjunction with the Calculation Mode.
In summary, using Conditional Thank-you Pages can provide a more personalized survey experience for respondents. A personalized Thank-you page can deepen respondents' impressions of your brand or company and attract them to your website or other related pages, thereby increasing the conversion rate.