At the first step, most surveys begin with “Short response” or “Number” question types. For example, take the following 3 question prompts: “Name”, “Email” and “Phone number”
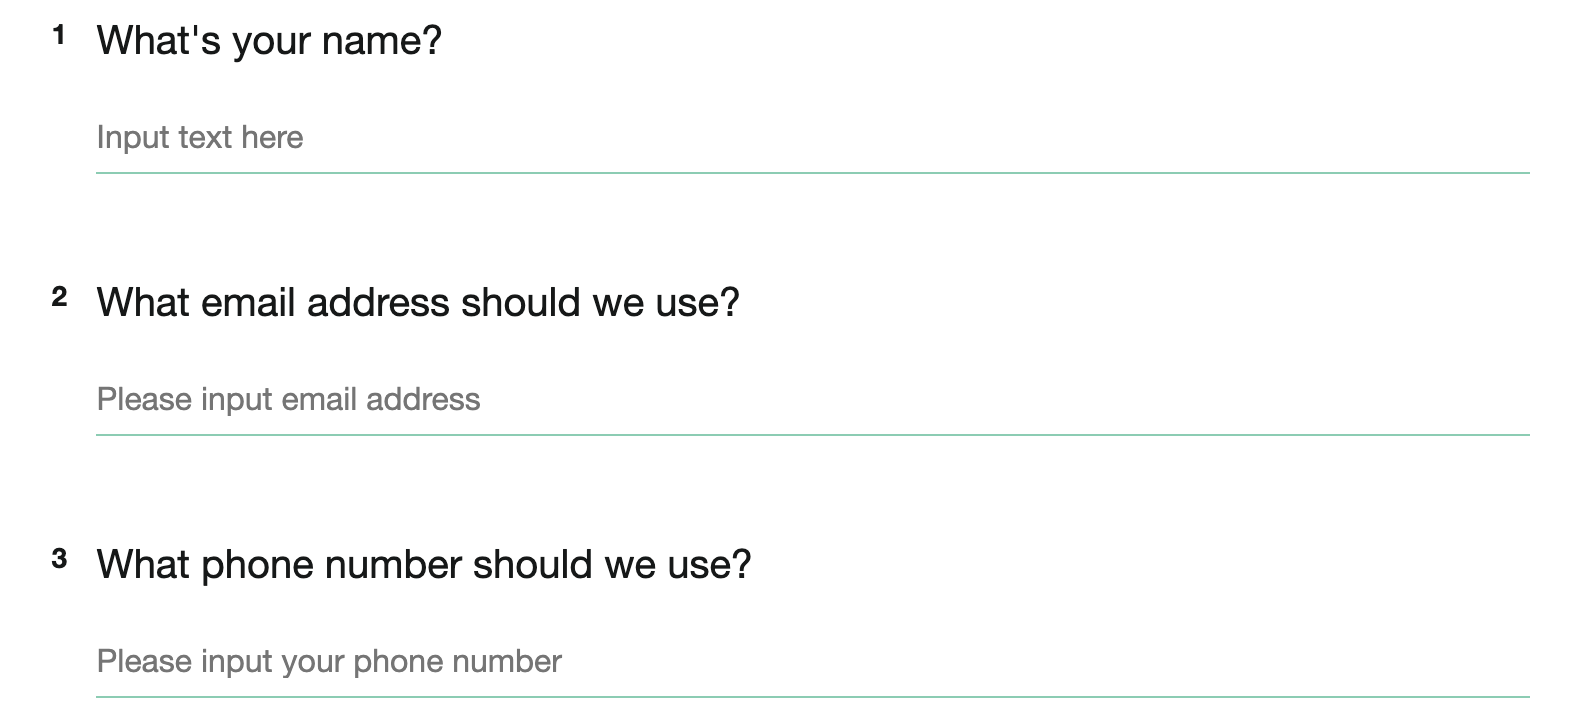
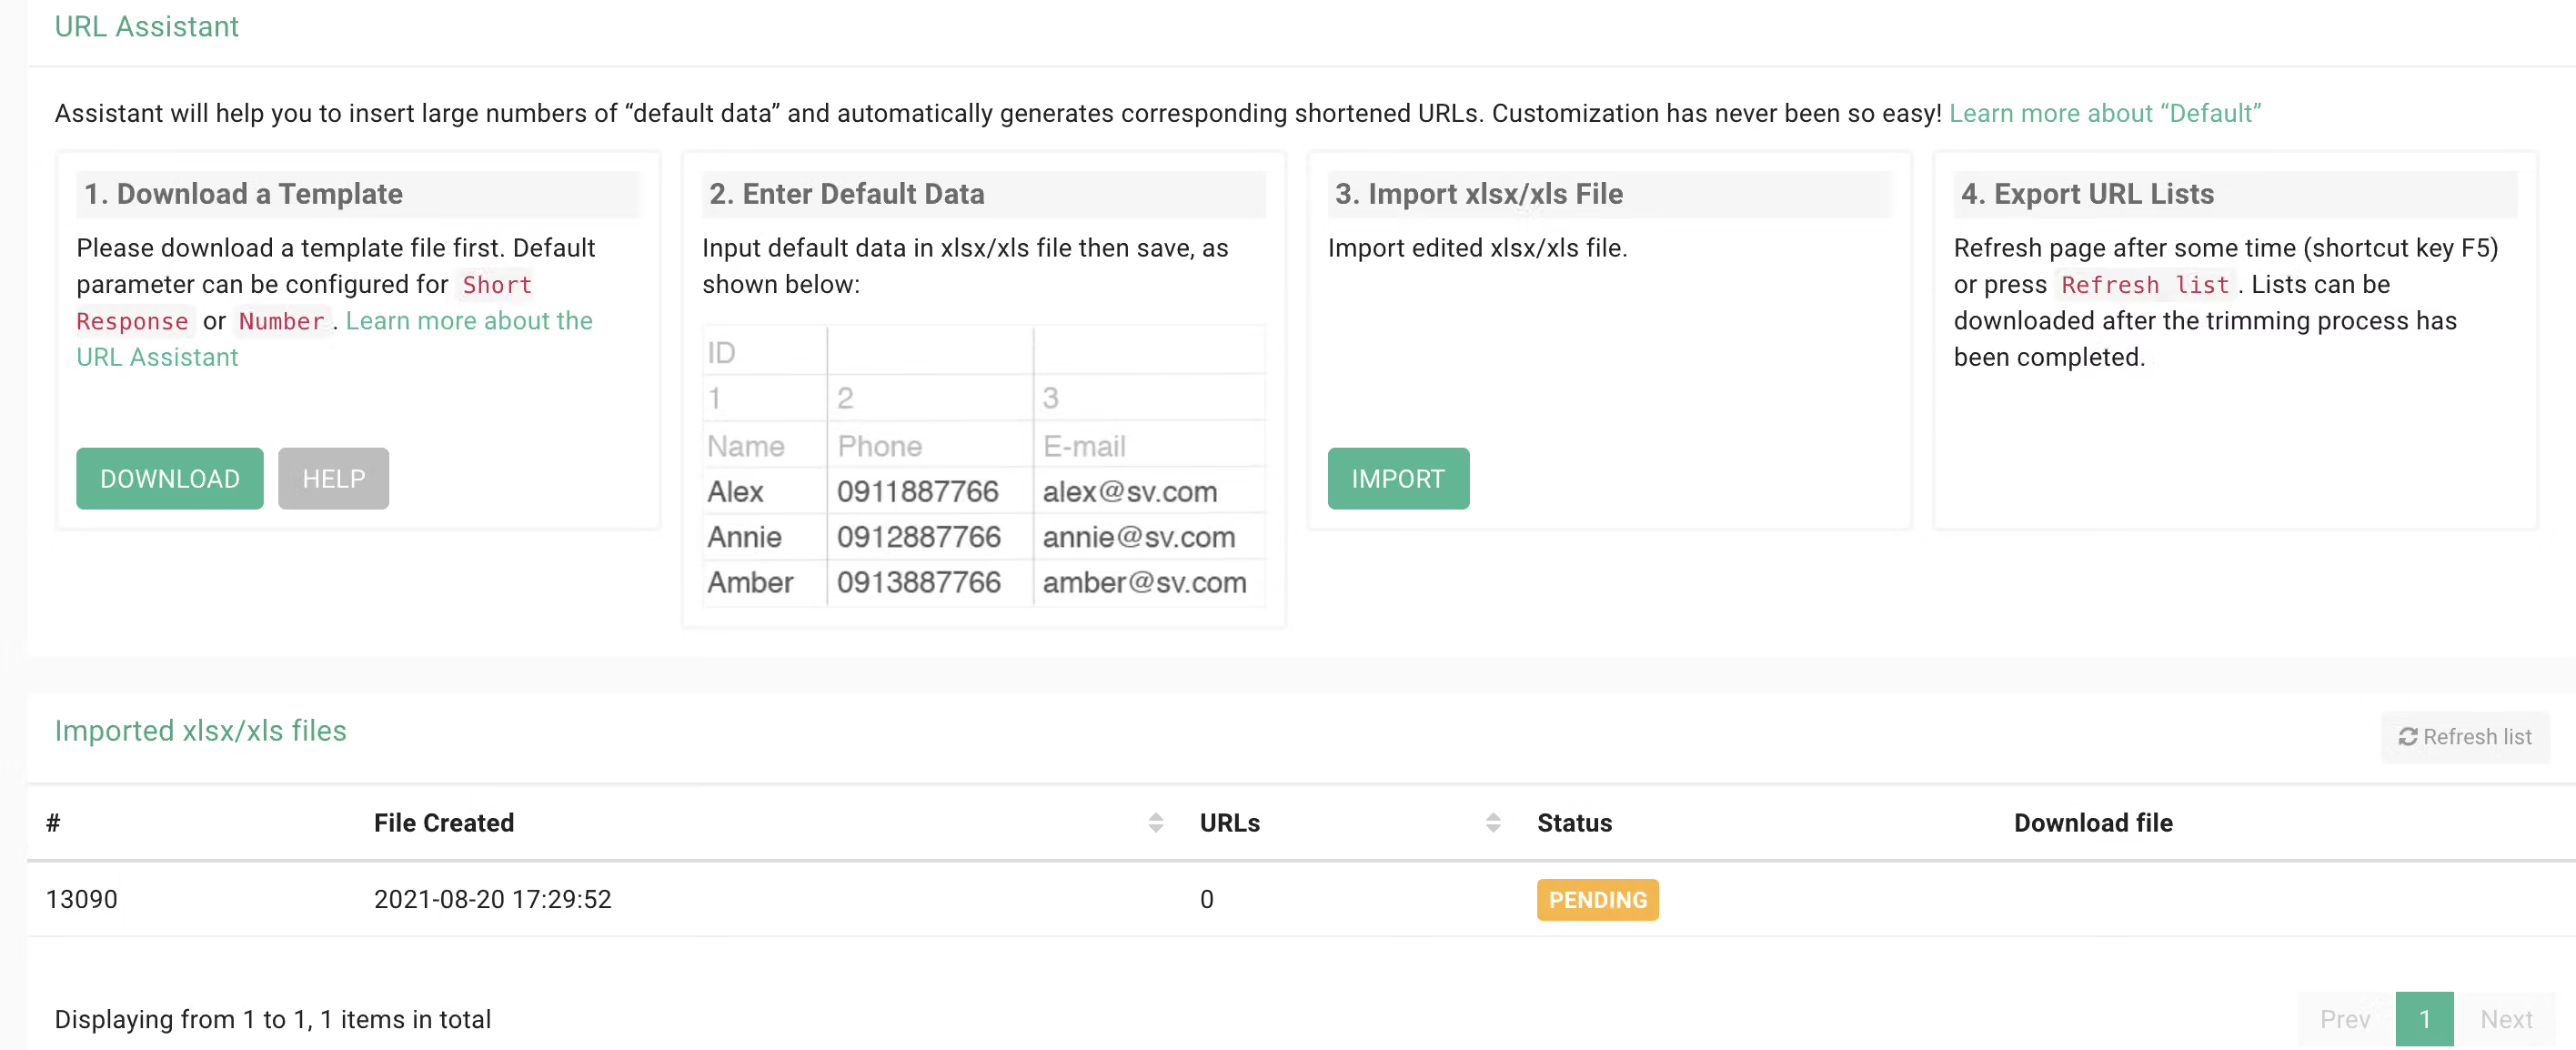
After creating a survey, go to the survey’s backend data system and click the URL Assistant tab. Then follow the next four steps to customize your surveys in bulk.
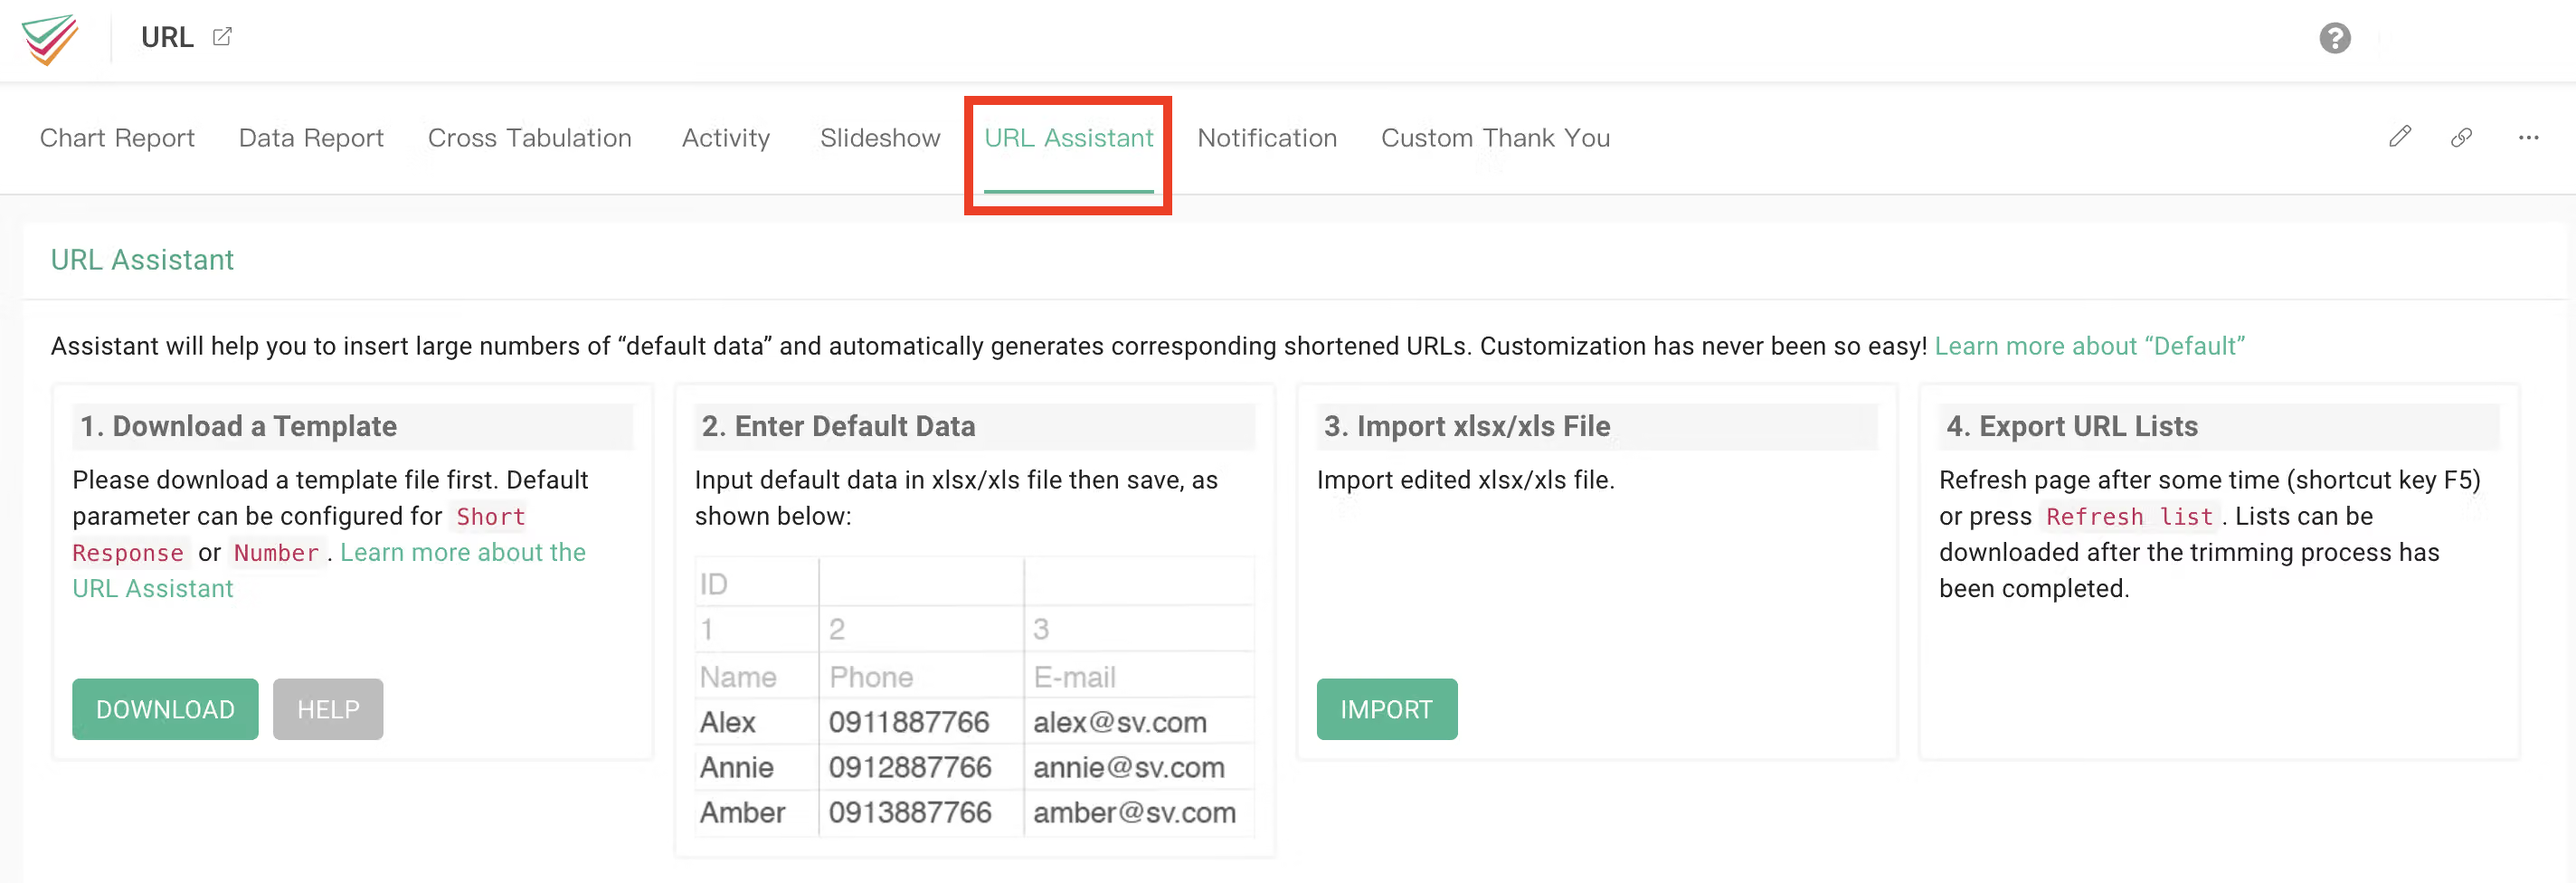
Click “DOWNLOAD” in the first column to download a CSV template file. Open the CSV file in Excel, and you will find that columns for each question have already been prepared for the file. (Note: The character encoding of this sample CSV file is UTF-8. If the file is garbled, please consider altering the encoding method as described below)

Next, just input your list of respondent info into each column.

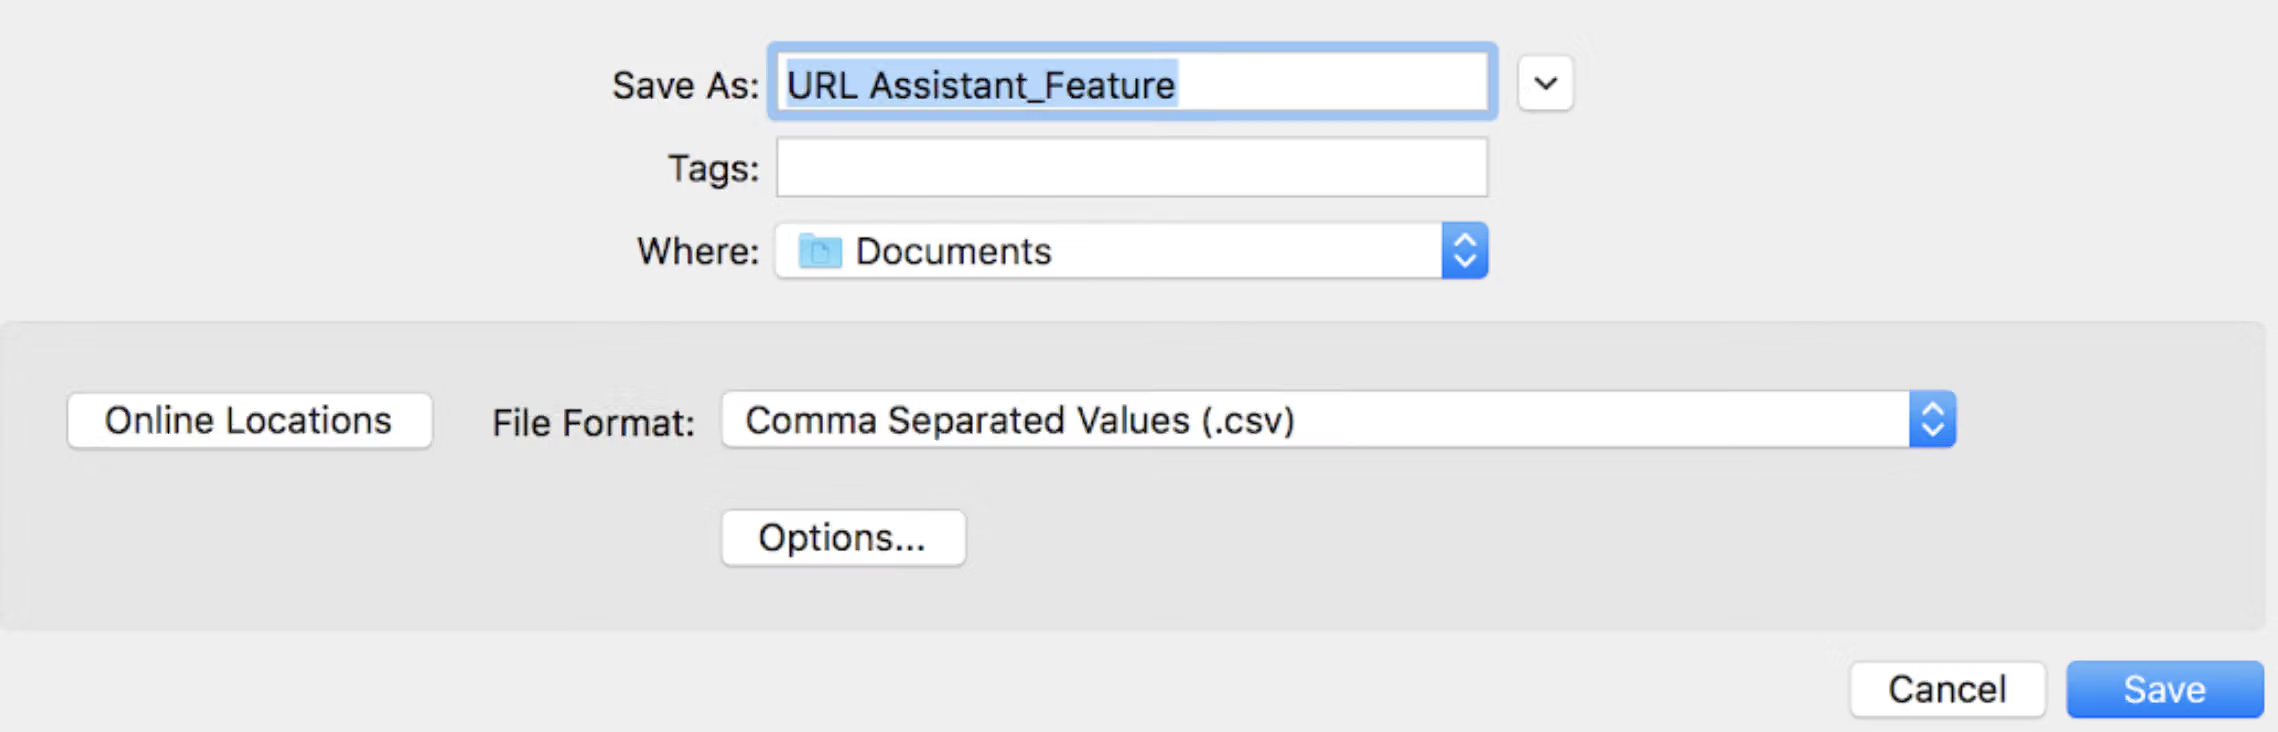
Then save the document as “CSV” format.
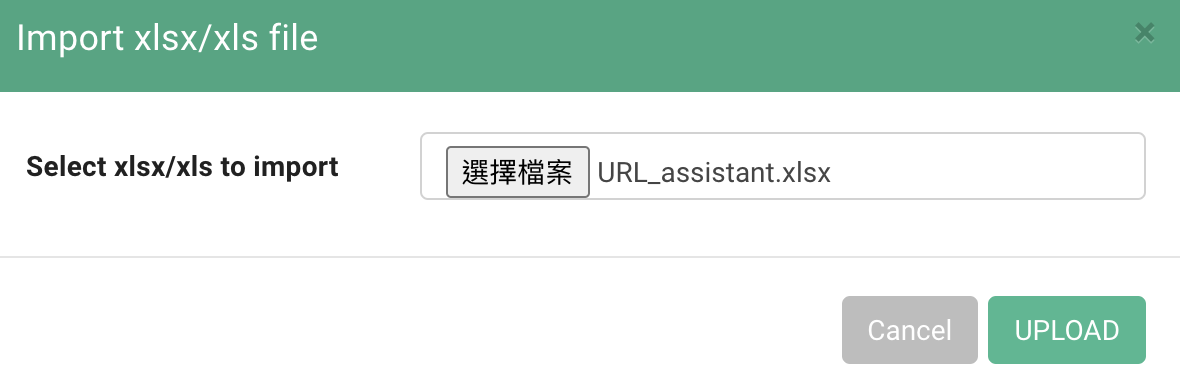
Next go back to the survey’s backend data system and click “IMPORT” in the third column. Select your completed CSV file and click “UPLOAD”.
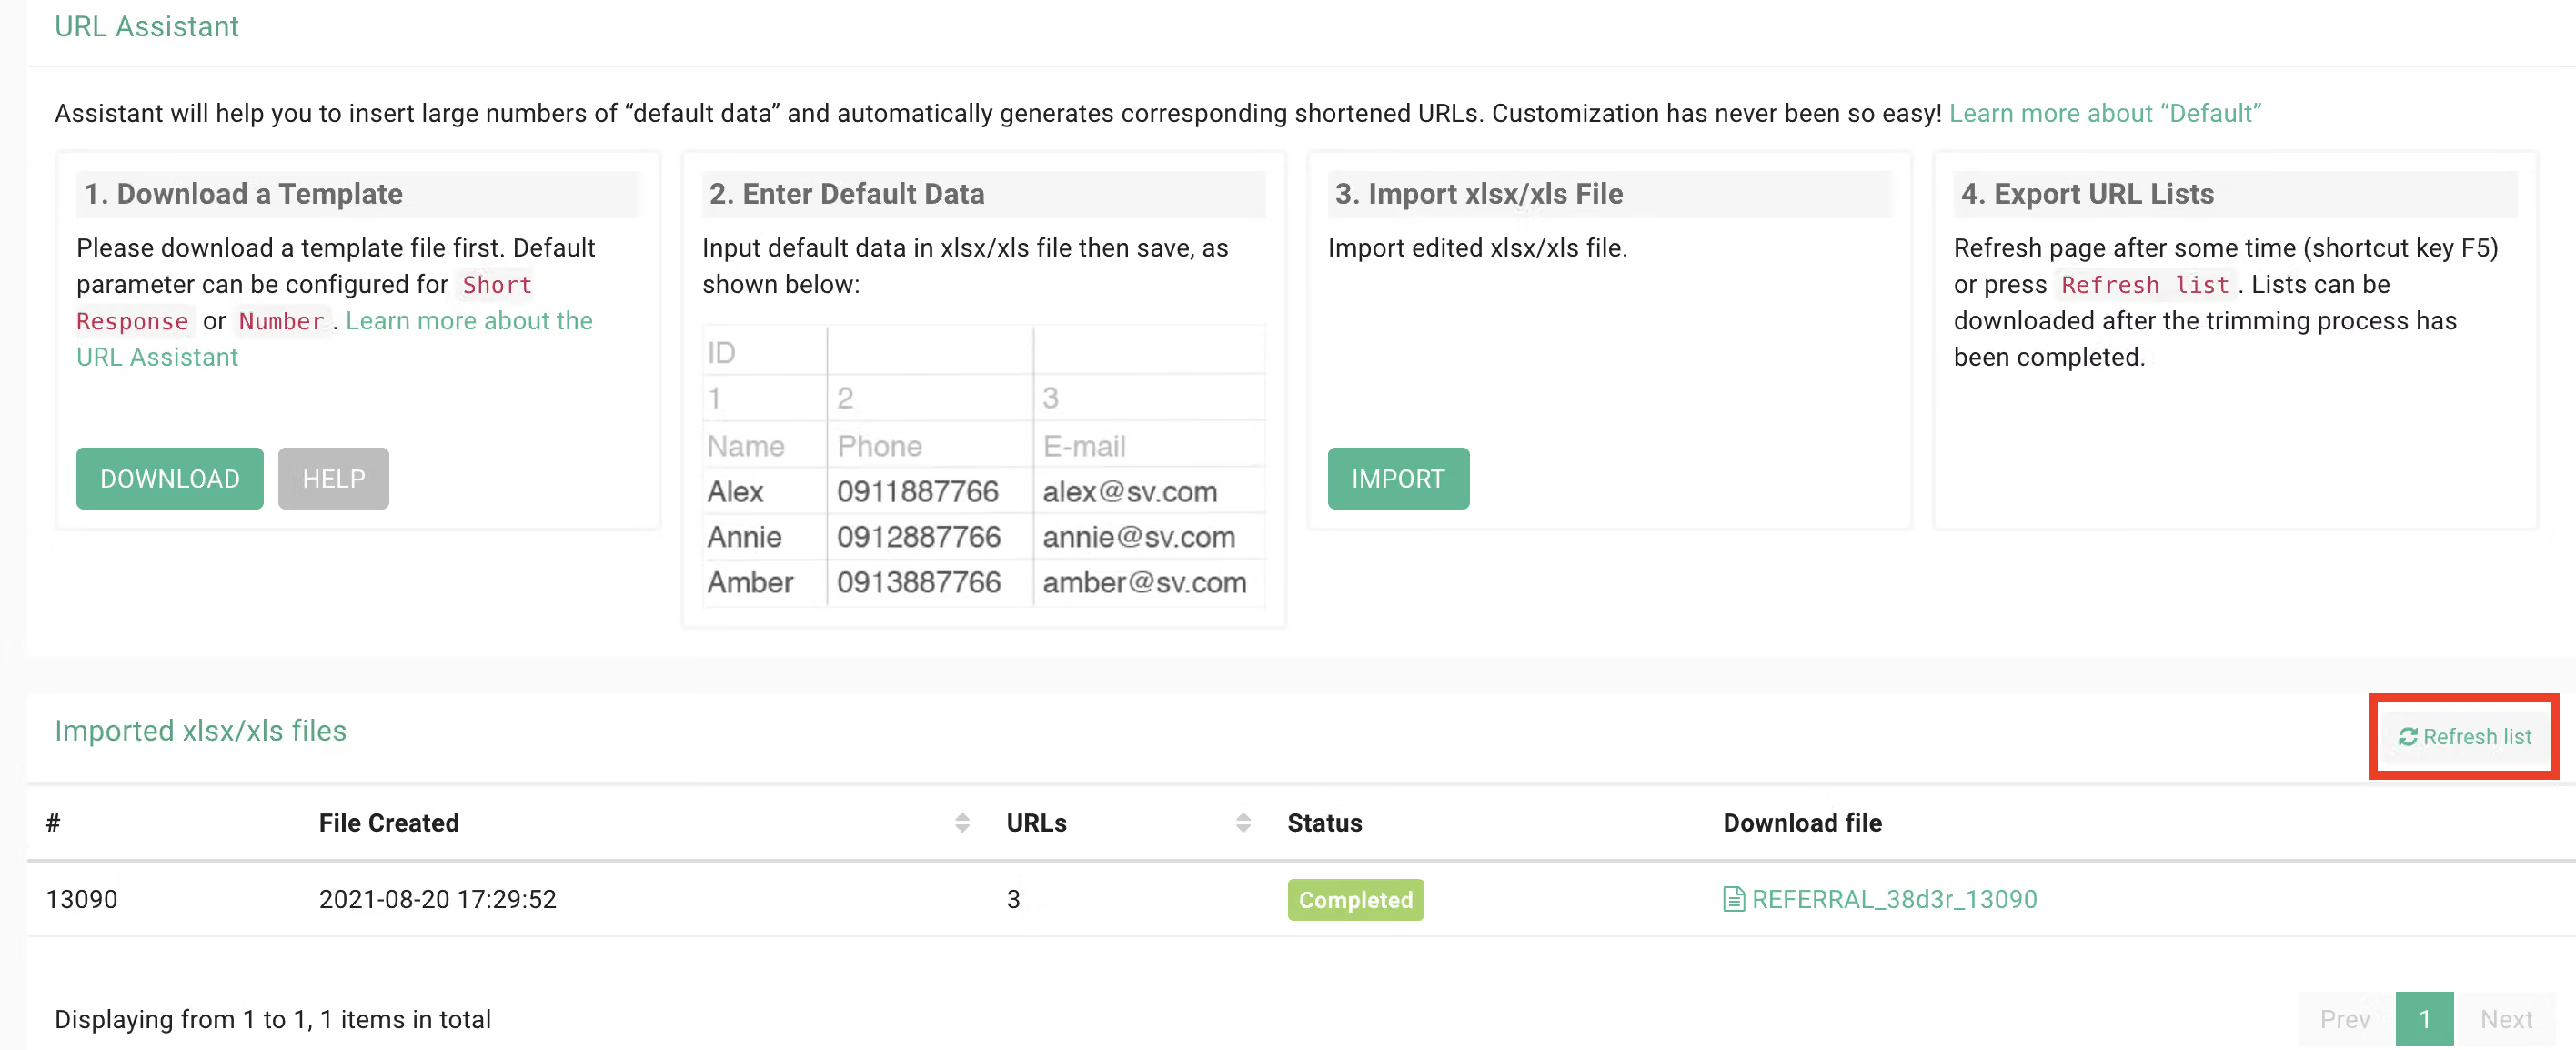
Once the file has been imported, it will appear in the lower portion of the page with the status “Trimming”. Just click “Refresh list” and the file should be ready for download.
The updated CSV file will contain customized URLs for each individual on your list, with the previously collected information already supplied for the survey.
If you are having problems when opening the CSV file (ie the information is garbled), your Excel version may not support UTF-8 encoding. But don’t worry, this problem can be solved by using Google Sheets instead.
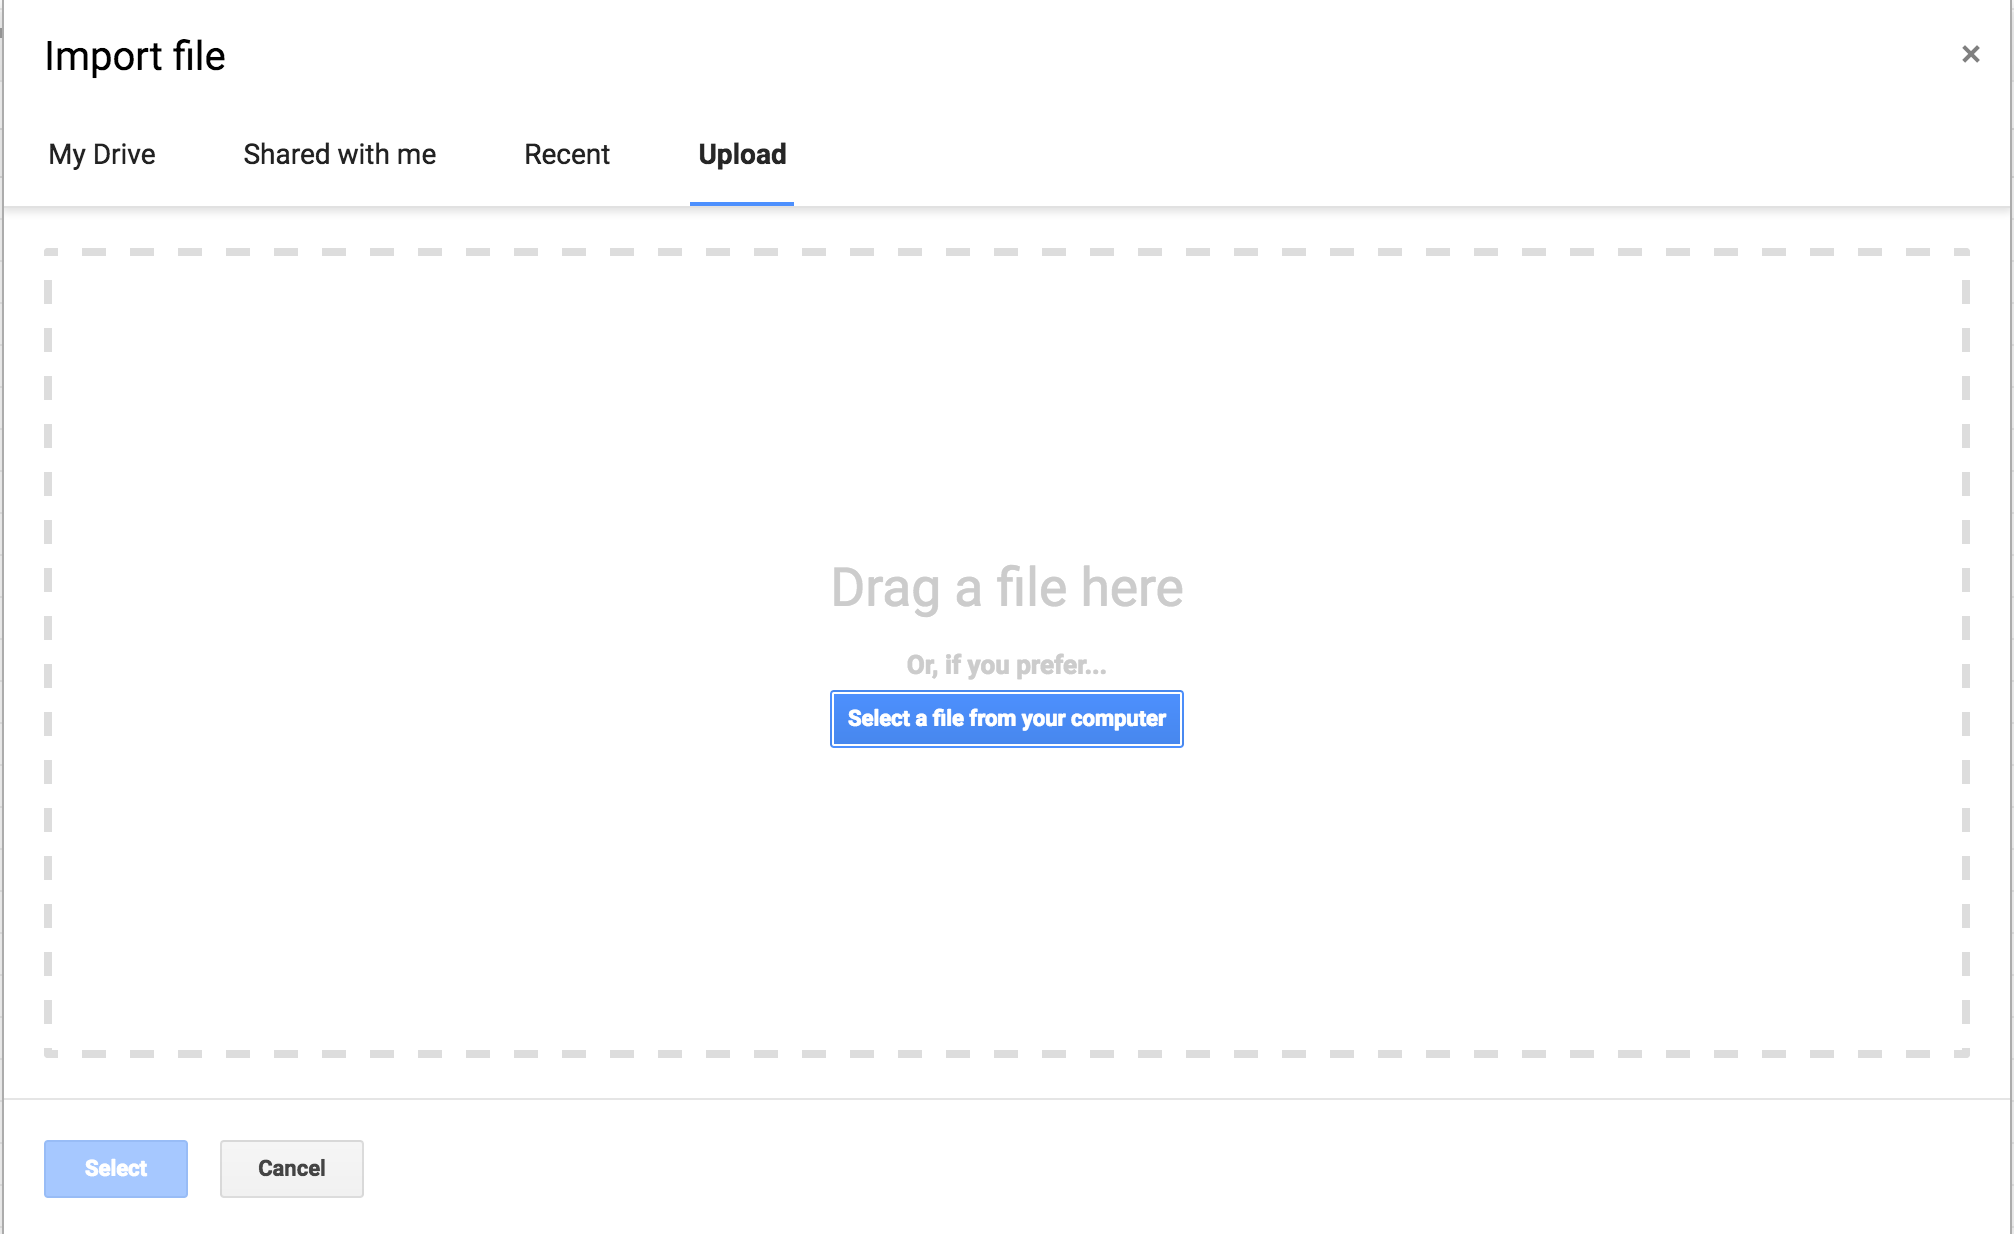
First, click this link to create a spreadsheet. Then, choose “Import...” under “File”. Now you should be able to upload the CSV template file you downloaded from survey’s backend data system.

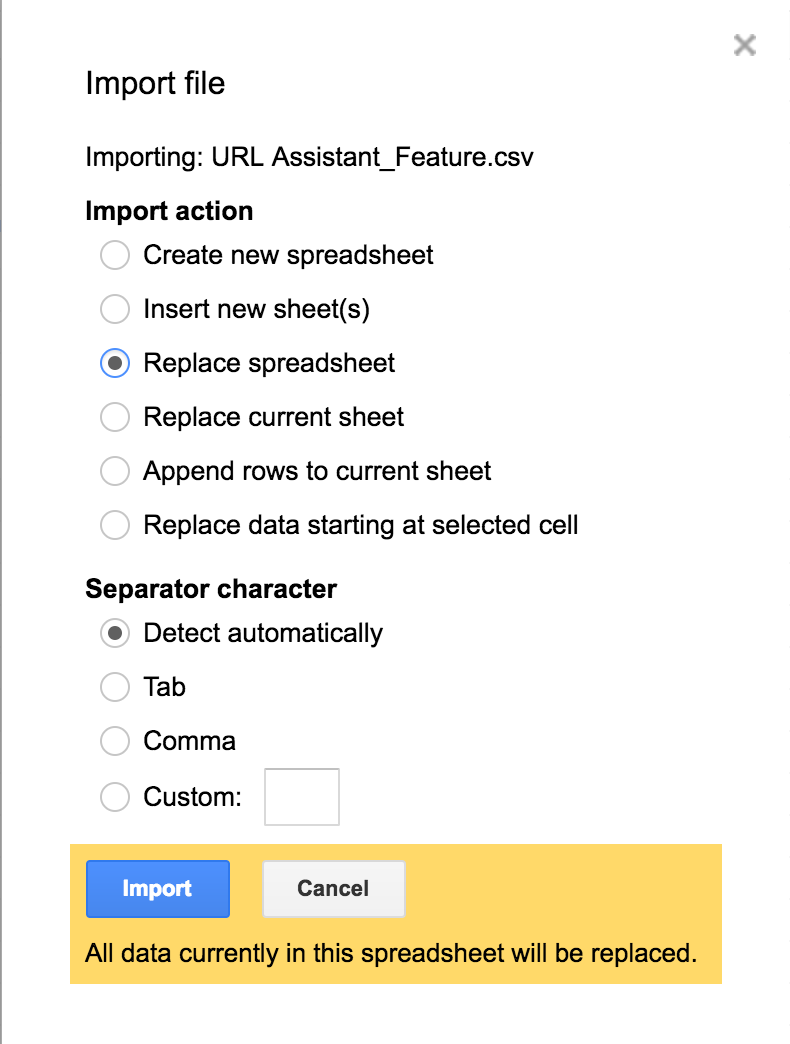
Choose “Replace spreadsheet”. There should be no need to change any other settings.
Once the Google sheet is ready, the process is the same as that for excel files. You will find the question titles already prepared as column headings. Next, you simply input the info from your list under each respective heading.

When you finish editing, click “Download as” under “File”. Choose “Comma-separated values(csv)”. This will provide the correct encoding for your updated CSV file.
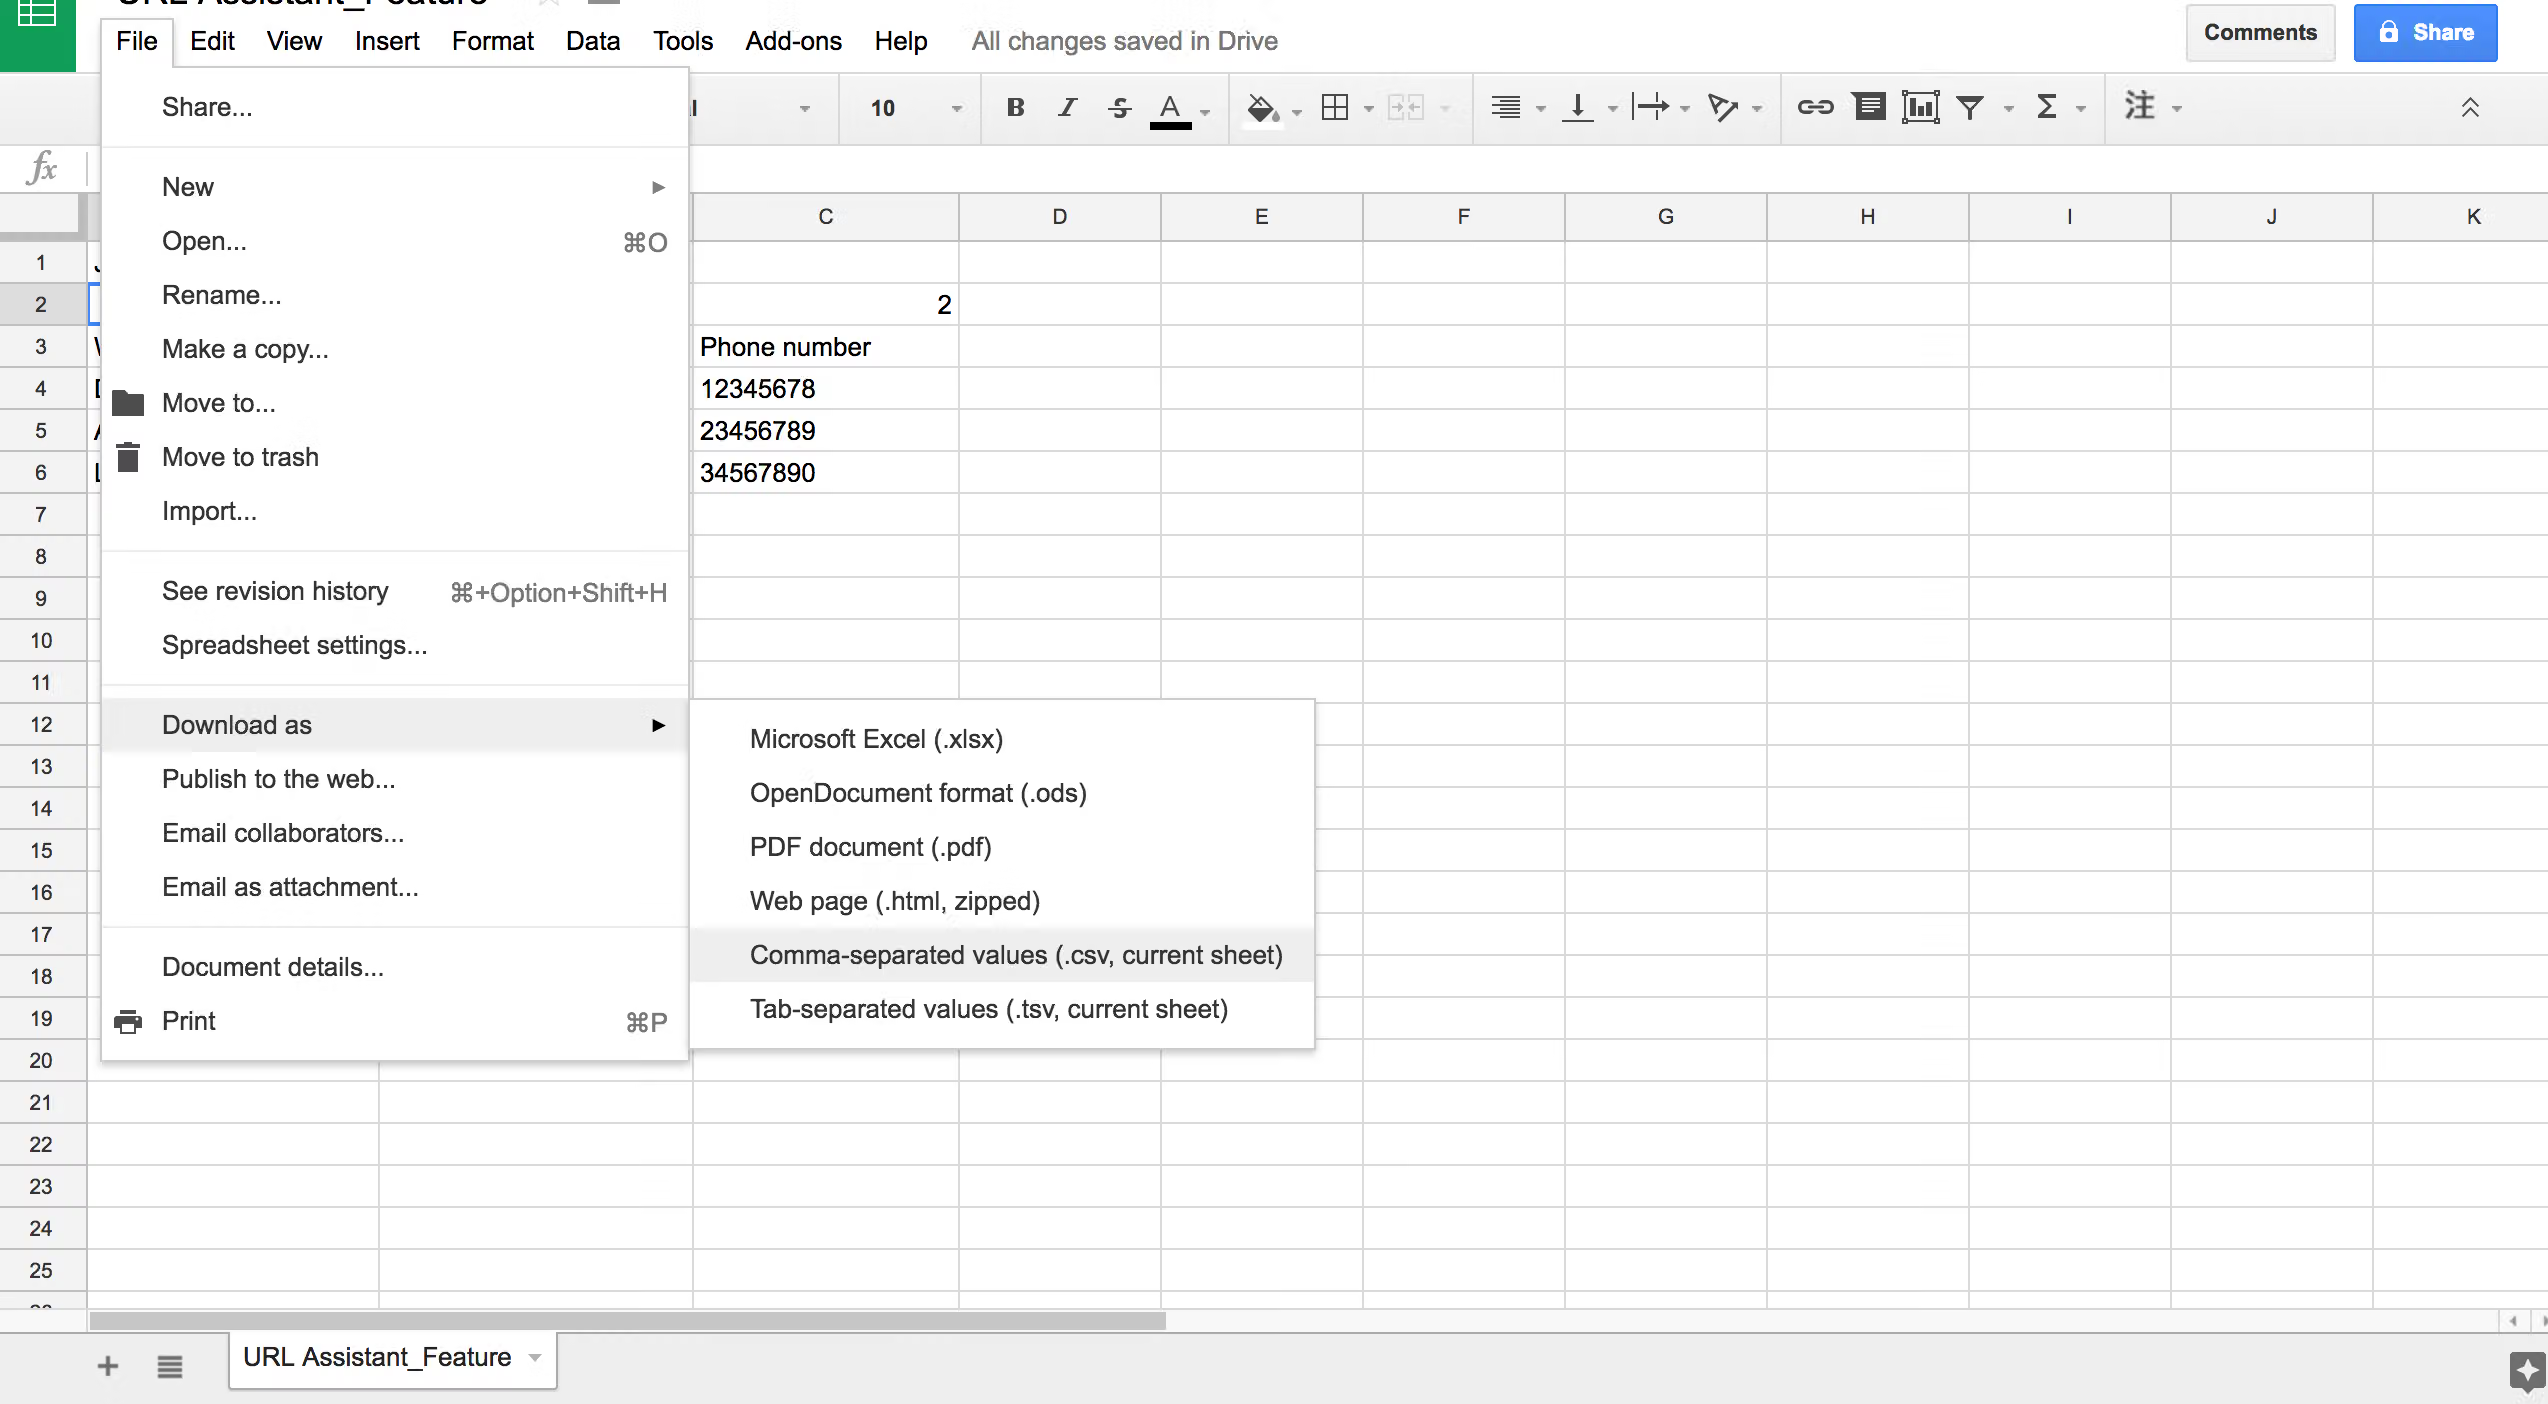
Now you can return to the survey’s backend data system, and repeat the steps above as necessary. Once your edited CSV file is imported, you will have a fixed CSV file for future use and reference.
Creating customized surveys with URL assistant!